Are you an aspiring artist? Is drawing and painting the long lost passion that you want to continue now? Or are you an amateur who wishes to learn the skill of still life drawing? Well, whatever your wish may be, one this is sure! You want to learn how to draw still life drawings. Now, many people have the misconception that it is simple, as you have to draw what you see.
And yes, you don’t know its difficulty level unless you do it yourself. However, a few tips and tricks help, don’t they? Oh, we have gathered them for you as well as we are going to help you How to Draw what you See: Techniques and Tips to Improve your Drawing Skills.

How to Draw what you See: Techniques and Tips to Improve your Drawing Skills
STILL LIFE DRAWING TECHNIQUES| THE BASICS OF STILL LIFE DRAWING
Drawing is the basic step when you learn to do any kind of art be it painting, sculpting or anything like that. We say this because it develops an artist’s perspective of looking at objects and scenes.
Decide what medium are you going to use for drawing. The regular drawing pencils or charcoal pencils. Next, you need to know…
How should you begin drawing a still life drawing?
Always start with the outlines of any object that you are drawing. For this, imagine the object is just a wire without any filler in it. look closely at the object and draw its outline. This will help you to be able to see the object’s shape precisely as you keep on practicing. This technique helps you to form the basic structure of the object and can be used in any other type of drawing as well.
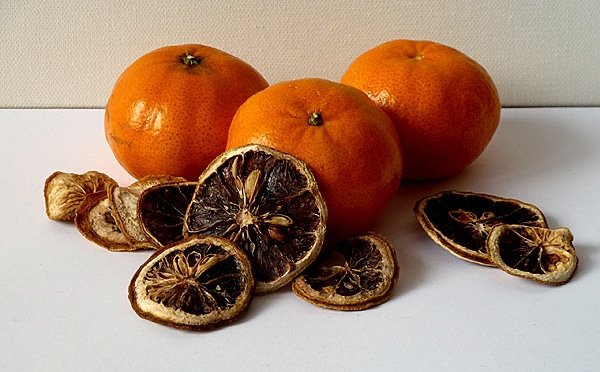
Choosing The Right Objects
Assuming that you are a beginner (or maybe you have taken back to art after a long time) choose objects that have simple structures. You can begin with a single object as well. However, having multiple objects placed nearby will give a deeper visual effect while adding in an aesthetic mood to it.
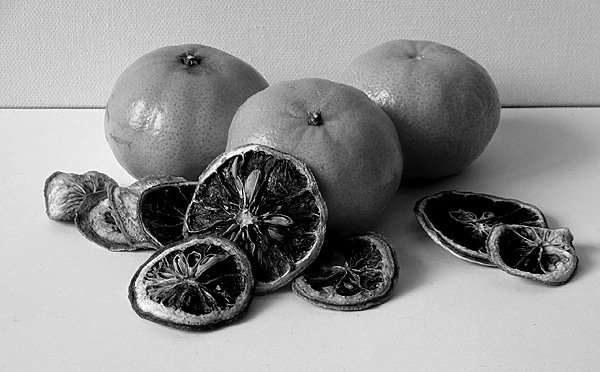
Placing The Objects To Get Maximum Effect
Make sure that the objects overlap each other but still have their own individuality. This means that you can place the objects closer to each other but make sure that at least 70 % of the object is visible even if it has some other object placed anywhere near it.
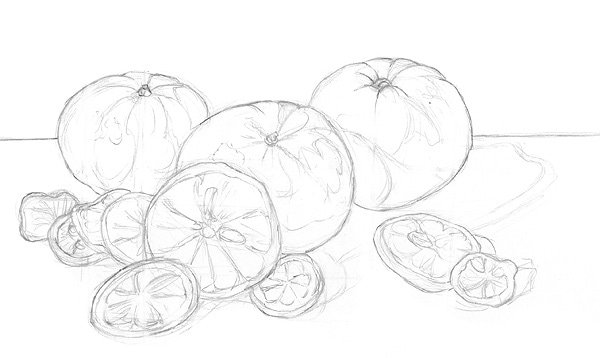
Let’s begin drawing!
Always start with outlines of any object that you are drawing. However, it is not necessary that you draw the complete outline. Pay attention to the negatives around that object (that means the empty spaces around the object) in order to get the proportion of the object in the drawing.
This technique helps you to form the basic structure of the object and can be used in any other type of drawing as well.
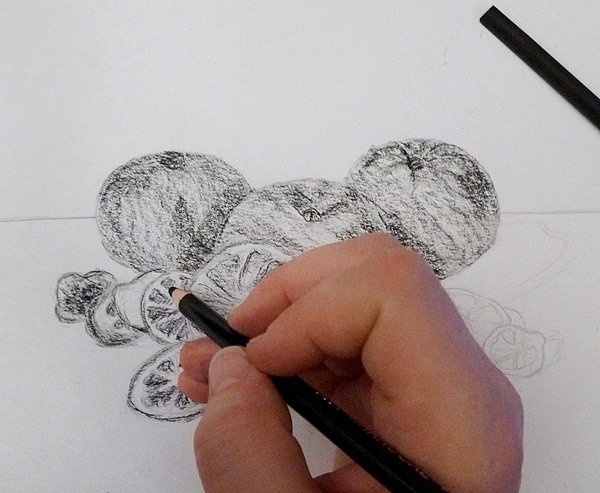
Play with the lighting to get the best view
Artists need a good light when they begin drawing. If you are drawing indoor, you can also play with this trick. Conjugate the objects and the lighting and monitor how each angle gives a different view of the scene. The angle from where the light falls and your point of view are two critical aspects of the still life drawing.
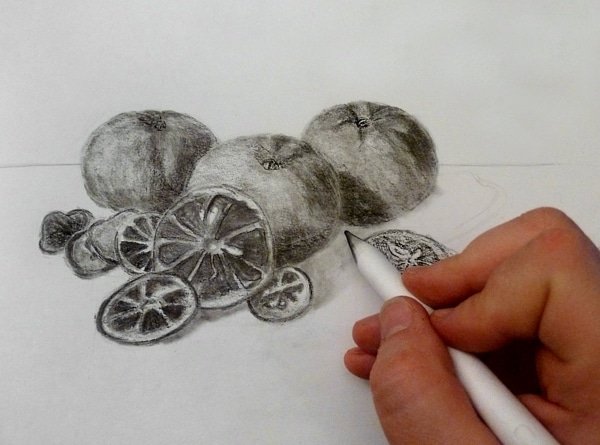
Get Yourself A Viewer
What is a viewfinder? Well, if you are a beginner you must have thought that but by the name, you must have had an idea about it. A viewfinder is a frame that helps you imagine the scene with measurements and dimensions. By the use of a viewfinder, you can draw the still life drawing in a proportion. Moreover, it is easy to make one at home. Just cut a piece of cardboard like a frame and use it to position your scene.
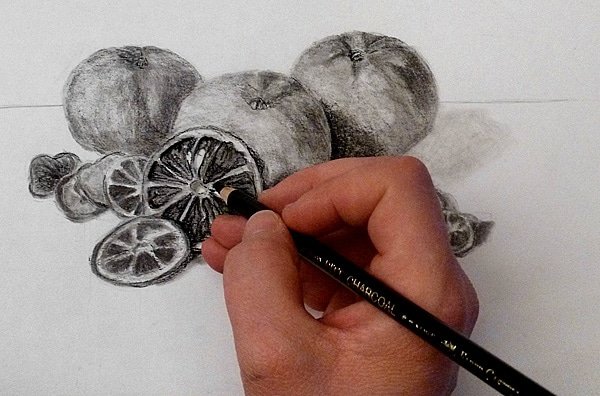
Measure The Scene For Proportions
Well, we got the viewfinder for this step. You need to measure the scene and then proportionate it on the canvas. For this, mark the viewfinder on the center of each side of the frame. Next, mark the canvas. Now, carefully look at the areas where the objects appear in the viewfinder and outline the canvas similarly.
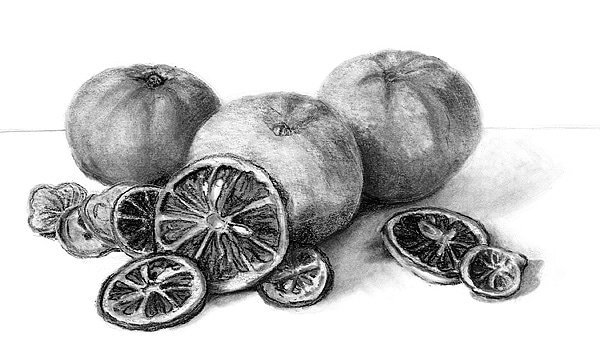
How to look for proper angles and planes while still life drawing?
Use Your Pencils For Measuring The Angles
Use your pencil to check the angles of the objects and then taking reference, draw the same angles on the canvas. Use the base of the viewfinder as a guide, too. However, it happens that at times you subconsciously change the angle of the pencil to match your drawing. Avoid doing that. Use your pencil to draw the edges of the drawing.
Next, you move into the center. Make sure that you have the measuring going on with your pencil continuously even while you move towards the center. Just do the basic outlines for now. The shading part will be covered later
Shading The Drawing | How To Fill In Shades And Make It Look Real
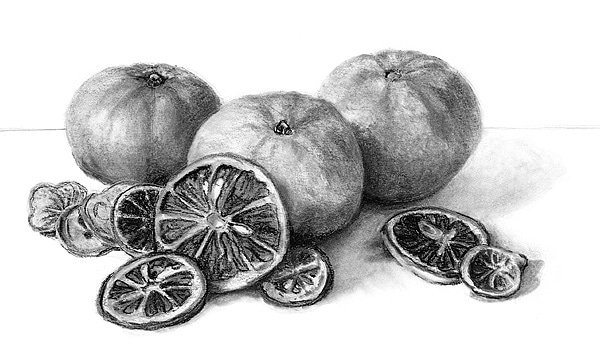
Your shading technique shapes the drawing to look realistic. It has the ability to make or break the drawing. Start shading from the darkest to the lightest. Look closely at the objects and see how the objects reflect light. Leaving the area that reflects light highlighting the shades will make your drawing look more three dimensional and real.
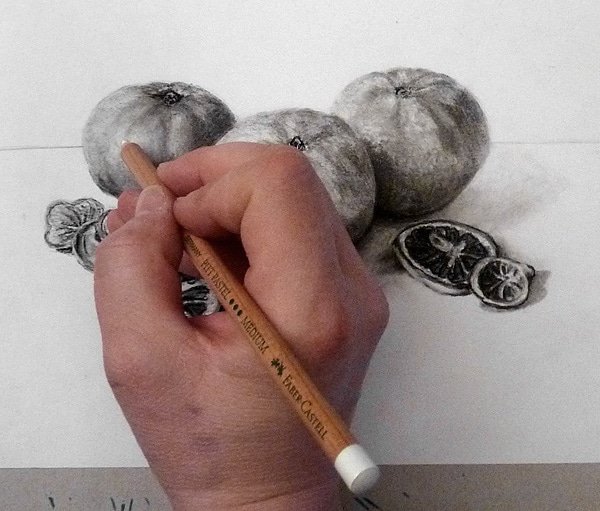
Here you must use an eraser to get into the lighter shades if the darker shades have been overdone.
Focus On The Negatives For Better Effect
Drawing on the Right Side of the Brain by Betty Edwards suggests that you get into the negative spaces between the object. Negative space means the space that you see between two objects or any space that does not hold any object. For example, the space between two fruits if you are drawing a fruit basket. This will help you to get the correct shape of the object. Your brain works in this way - If you just think about drawing the objects it will pop up every idea that it has about that object instead of letting you draw the main object.
Fix The Mistakes Right Away? NO!!!
Never! We repeat! Never, let your mistakes sit there to be corrected when you shade. You will not be able to remember them later on. Instead, use erasers and correct the drawing then and there.
TIPS TO IMPROVE YOUR DRAWING SKILLS
The One Eye Technique - To draw a still life you have to look at it as a flat image. We see objects in a three dimensional view because of the depth perception we have. This can be manipulated if you close one eye. This eliminates the depth perception and thus you can look at the still life like a two-dimensional object. This helps in drawing it better.
Keep Looking Back And Forth – Your mind starts to develop an image as much as you look at something. However, you must not stick your eyes to the still life or even on the paper. Flicker your eyes and keep looking back and forth to have a better perception of the still life.
Use the smudging techniques - At the end of your drawing, for better effect, darken the shadows to full range. Similarly, make sure that the brightest of the highlight is white. Spread the shades with a tool or with your fingers if necessary.
a drawing looks unappealing if it has harsh pencil marks or strokes so blend the shades for them to look natural.
Take A Break!- This is one of the most important of the trick and hence we kept it for the ending. Moreover, this is something that you need to do just before you complete the image. Take a break. You have spent so much time in front of the drawing that you won’t be able to finish it perfectly. go for a walk or go somewhere where you won’t be around the drawing. When you come back with a refreshed mind, you will be able to spot mistakes and then you must correct them. This tip is not just valid for drawing but for any art that you do.
Amazing and creative ideas to draw and paint
- Food - you can draw any kind of plated food
- Basket of flowers
- Basket of fruits
- Sliced fruits
- Pottery
- Vintage wine bottles and grapes
Practice makes you perfect. To get to perfection, you will have to keep practicing the drawings again and again. Don’t stop if you fail to get there in the first attempt. But don’t stop either if you get there in your first attempt. Try to practice one thing repeatedly. Analyze how your drawings improve each time you do it. You can practice the same drawing with different lighting wherein the shadows and highlights of the still life will change. Use these tips and techniques with some of your efforts and see how exquisite your still life drawing will turn out to be.