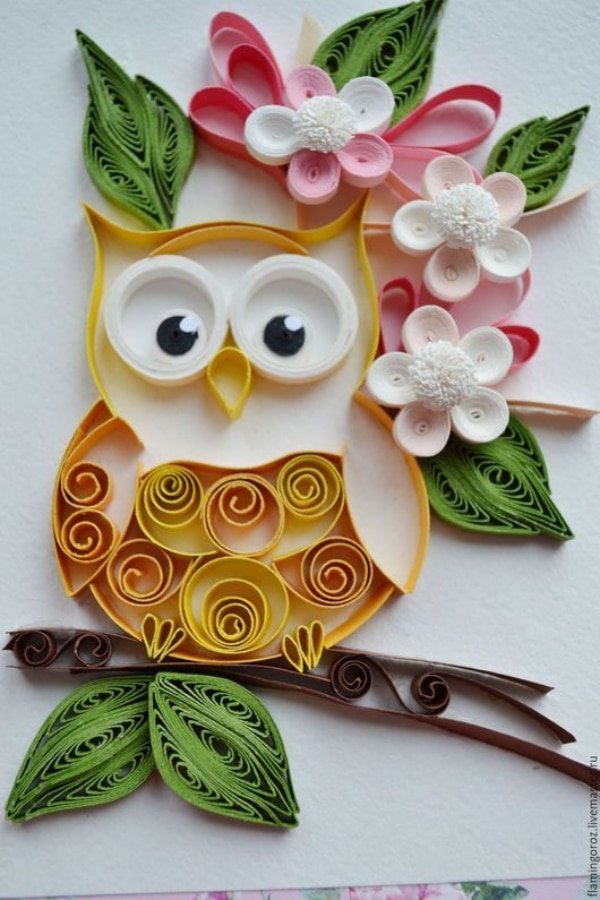
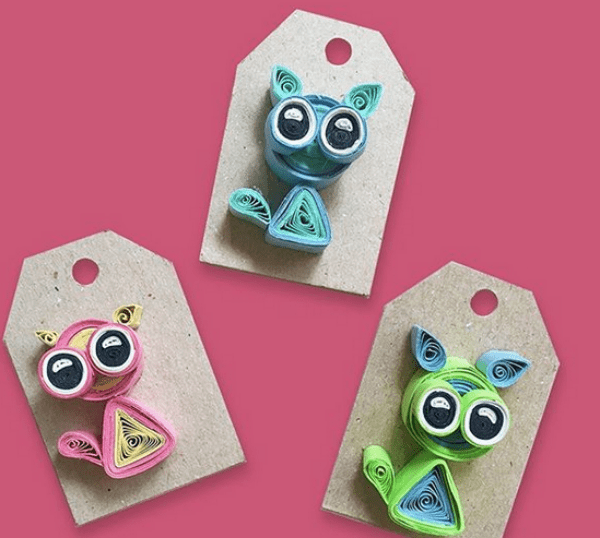
Be an adult or a child, what would be better than art to pass time at home during the world pandemic! Moreover, while Kirigami and origami are entertaining, quilling is much more engaging! It might interest you to know that quilling gives a certain kind of sense of comfort and satisfaction to the otherwise disturbed souls. But are you ascertain about quilling? Don’t the marvelous shapes made by rolling paper make you curious? Don’t you get the urge of trying it on your own? Oh, don’t give it a second thought if you feel like quilling as we have some Best and Easy Quilling Ideas for Beginners!

Best and Easy Quilling Ideas for Beginners


First things first – do you know what is quilling? Well, quilling, also known as filigree is a craft that you make rolling thin strips of craft paper. These papers come in different colors. Once you decide on what you wish to make, you can roll it to whichever shapes you want.
However, before we get to the shapes, let us know what you will need!


REQUIREMENTS, REQUIREMENTS!
Surely, you need to gather the ammunition before you begin a war, don’t you? Well, here is a precise list for you.
- Quilling Paper – you can buy readymade quilling strips easily available at any store or you can cut the equal size of strips from craft paper. We suggest that you use the readymade quilling strips, as that will be easier.
- Quilling Tool – there are various tools that you need to have if you are serious about quilling. Else, a toothpick is enough to roll papers.
- Slotted Tool – it has a slot at the tip to insert the quilling strip to roll the paper circular.
- Tweezers – you will need this while you apply glue.
- Needle Tool – a thin tip tool that is used to apply glue.
- Crimper Tool – used to add a crimpy texture to the quill.
- Pair of Scissors
- Glue
- Circular Ruler
- Quilling Comb (or hair comb if required)


BASIC STEPS FOR QUILLING ART FOR BEGINNERS
No matter what shape you are trying to make, you need to do these steps each time
#1 – take the quilling strip and insert it into the eye of the quilling tool that you are using.
#2 – roll it and keep rolling until you reach the desired result.
#3 – glue the end of the quill.
Now that you have grabbed your tools, let us begin with some basic shapes of quilling


EASY QUILLING SHAPES FOR BEGINNERS
Circles/Coils Shaped Quills

The circles or coil is the basic shape that you can make out of it a quilling strip. Get this one right and you will have almost all shapes covered. Follow the basic steps given above for this. You can make either a tightly bound coil or a loosely bound coil. Both of them give a different look to your art.
Extension
Semicircle quill – You can make a semi-circle by pinching two of the sides of a loosely bound quill.
Teardrop Quill

The teardrop shape is versatile and can be used to make many things in quilling art such as – flowers, hearts, fill-ups, etc.
For this,
- Make a loosely bound coil and hold it with your thumb and index finger.
- Shape the teardrop by adding pressure on the coil where you want the narrow side of the teardrop.
- You can then roll in the inner part of the quill to make it look neat.
Extension
The shape of the teardrop can vary depending on how much pressure you give on the sides. Thus, you can try variations in it.
Marquis – you need to make a teardrop and pinch opposite sides of the quill to make a marquis.
Square Quill

For a square or a diamond shape, all you need to do is make a marquis and as you pinch two of the opposite sides, this time you have to pinch two more opposite sides. These two sides must be aligned and opposite to each other.
Extension
Rectangle – when you go for a rectangle, you have to do it as you did for the square. The only thing that you need to keep in mind is that adjacent sides are of different lengths.
S-Shaped Quill

While the above shape is quite handy for you as a beginner, the S-shaped quill is also an important one as we thought. For this -
- Take a quilling strip and bend it in the form of “S”.
- Then take one end and start rolling till you reach 1/3 part of the quill
- Repeat the above step on the other side as well.
- While you design an “S” shape quill, you have to determine whether you have to make it tight bound or loose bound.
Extension
Make tightly bounds-shaped quills to make an alternating effect of coil shape quilling. Now that you know some basic shapes, here are some fun tips for you -


USEFUL TIPS FOR QUILLING
- Use a high-quality paper on which the quill will be stuck.
- Use contrasting and colorful background papers.
- Don’t invest too much on supplies if it is just a passing hobby.
- Make sure you are through with the basics before leaping forward.
- You need to do this regularly if you want the perfect outcome.
THINGS THAT YOU CAN MAKE FROM QUILLING
- Decorations – home décor items for different occasions.
- Ornaments – earrings, necklace pendant, bracelets, and the ornament box as well.
- Gifts – gift box decoration, cards, accessoriness, etc.
- Other things – coasters, boxes, wall art, etc.


Follow the instructions and we are sure you will be able to get an awesome quilling project. Make sure that you use the tools properly. You can also use a guideline on the paper with you will stick the quills to make shapes. However, it may seem difficult at first, but it is enjoyable as you progress.